Mac screen recording has no sound? Check the audio source first

Dylan de Heer

If your Mac screen recording has no sound, first work out which sound is missing: your microphone, the audio playing inside an app, or everything during playback. Those are different failures. Choosing a microphone does not, by itself, mean your recorder is capturing the Mac’s system audio.
Start with the saved file, then check the recording tool, selected sources and permissions. Make a short test recording before changing several settings. You want to identify one failed part of the path and confirm that the next saved file contains the sound you need.
This guide covers screen recordings made on a Mac, including Apple’s Screenshot and QuickTime tools. It also explains the separate case where you need meeting audio and notes without a screen video.
Identify the symptom before changing settings
Keep the original recording. Work on a copy if you need to edit or convert it, and do not overwrite the only version while investigating.
Use these symptoms to choose your first check:
You can hear yourself, but not the video, presentation or other caller. Check whether system audio was enabled and supported by that recording method. A working microphone does not prove that app sound was captured.
You can hear the app, but not yourself. Check the selected microphone, its input level and the recorder’s microphone permission.
Nothing plays, including other files. Check playback volume and the current output device before changing recording settings.
The original plays with sound, but an exported copy does not. Focus on the export or conversion step. Keep the working original and inspect whether the export retained audio.
There is sound, but it is distant, distorted or doubled. You may be recording loudspeaker sound through the microphone, monitoring it twice, or using an unsuitable input. Treat this as a routing or recording-quality problem rather than complete silence.
Write down the recording app, macOS version and intended sources. “QuickTime, built-in microphone, no browser sound” is a useful description. “Audio is broken” leaves too many possibilities open.
1. Check whether the problem is playback
Open the saved recording in the original app or a compatible local player. Check the player’s own volume and mute controls, then the Mac’s output volume. Play a second file that you know contains sound.
If neither file is audible, check where the Mac is sending audio. A connected display, headset or audio interface can make the expected speakers the wrong place to listen. Choose your intended output in System Settings, then test again. Apple’s sound-output guide explains the output-device and volume controls. Avoid changing the recording input at this stage: an output problem does not establish an input problem.
If another file plays correctly but this recording stays silent, move to the capture checks below. If the original recording works and only a converted copy is silent, return to the export settings and make a new copy with audio included. Do not repeatedly re-encode the original as a general repair attempt.
Expected result: you know whether silence is specific to this recording, to an exported copy, or to playback more generally.
2. Check what Screenshot or QuickTime can capture on your version
Apple’s screen-recording controls change across macOS versions. Read the options on your Mac instead of following a screenshot from a tutorial written for a different release.
Press Shift–Command–5, choose a screen-recording mode and open Options. Select a microphone if you want your own voice. Apple’s current instructions also document Include System Audio for macOS 27 or later. Where that option is present, enable it if you need sound playing on the Mac. Do not assume that selecting a microphone also enables it. See Apple’s current screen-recording instructions.
On a version or recording tool without that system-audio option, microphone capture alone is not a reliable way to record app audio. You may need a recording application that explicitly supports system audio on your installed macOS version. Check that application’s current documentation before installing extra audio devices or following an older routing tutorial.
For QuickTime, Apple describes File → New Screen Recording as opening Screenshot on newer versions, or presenting its older recording window. In the older window, microphone selection is under the arrow beside the record button. The QuickTime name therefore does not establish a single set of audio capabilities across all Macs. Apple explains both interfaces.
The important distinction is the source:
A microphone captures your voice and sounds reaching that microphone.
System audio captures sound produced by software on the Mac through a supported capture route.
A screen video captures the visual activity you selected. It is not proof that either audio source was included.
Expected result: the recorder’s options explicitly match the sources you want. If an option is absent, you have identified a capability or version question rather than a mysterious permission failure.
3. Test the microphone you actually selected
If your own voice is missing, check both the Mac’s input selection and the recording app’s input selection. Some apps have their own device menu; selecting a device in one place does not tell you what the other is using.
Open System Settings → Sound → Input and choose the microphone you intend to use. Speak at your normal distance and watch the input level. Where an input-volume control is available, adjust it so ordinary speech registers clearly. Apple documents device selection and input volume in its Sound input settings guide.
Then return to the recording app and choose the same source where it offers a microphone menu. Check any physical mute switch on your microphone or headset. If the source name is “Default”, confirm which device that currently means rather than relying on what was connected yesterday.
A useful isolation test is to switch temporarily to the built-in microphone, if your Mac has one, and make a short recording. If that succeeds while the external microphone does not, you have narrowed the investigation to the external input or its route. You have not proved that the recording app needs reinstalling.
Avoid compensating for the wrong source by increasing every volume control. A microphone across the room can register speech while producing a poor recording. Select the right source first, then set a sensible level.
Expected result: speech moves the selected input’s meter and is audible in a newly saved test file. A moving meter alone is only part of the check.
4. Check permissions for the recording app
macOS controls access per application. Granting access to one recorder does not establish access for another, and permission to capture the screen does not by itself establish that your chosen microphone or system-audio route is working.
Open System Settings → Privacy & Security and review the relevant microphone and screen/system-audio controls for the app you are using. Labels and available controls vary with macOS version. Apple’s microphone-access guide explains the per-app microphone switch. Follow any macOS instruction to quit and reopen the application after a permission change, then make a new test recording.
If an app has no relevant permission entry, start its normal recording flow and follow its documented permission request. Do not enable unrelated apps, disable security protections or run permission-reset commands copied from a forum as a first step.
For a managed work Mac, an unavailable or locked setting may need your IT administrator. Give them the app name, macOS version, missing source and exact message. That is more useful than repeatedly changing settings you cannot control.
Expected result: the intended application has the access its documented capture method requires, and a saved test demonstrates that the source is captured. Permission switches are prerequisites, not a substitute for playback verification.
5. Run a short test with two identifiable sounds
Before another long recording, make a controlled test of around 15 seconds:
Select the intended screen area and audio options.
Say a short phrase such as “microphone test, one, two”.
Play a short piece of non-sensitive audio on the Mac that you are permitted to capture.
Stop the recording and open the saved file.
Check separately for your spoken phrase, the app sound and the expected picture.
Use a quiet room or headphones to reduce the chance that loudspeaker audio simply leaks into the microphone and disguises a missing system-audio source. If your test needs both sources, hearing a faint version of the app through room acoustics is not the same result as capturing it directly.
For a remote conversation, agree on a brief test with the other participant before the important discussion. Confirm both voices in the saved result. Do not treat a recording timer, animated waveform or microphone indicator as proof that every participant is included.
If the result is still wrong, change one relevant variable and repeat. Keep a small note of the change and outcome. This prevents a sequence of unrelated fixes from hiding which setting mattered.
If you need meeting audio and notes rather than a screen video
For a conversation, the useful output may be the audio, transcript and reviewed notes. Weeve captures microphone and system audio for that workflow; it does not create a video of your screen. If you need visible demonstrations or cursor movements, use an appropriate screen recorder as well and test the complete setup.
In Weeve, check the recording input and the required macOS permissions before starting. The app can begin with microphone audio while system-audio access is unavailable, so a successful start is not enough to confirm that the other caller will be audible. A short playback check remains useful. See the Weeve recording feature for the product workflow.
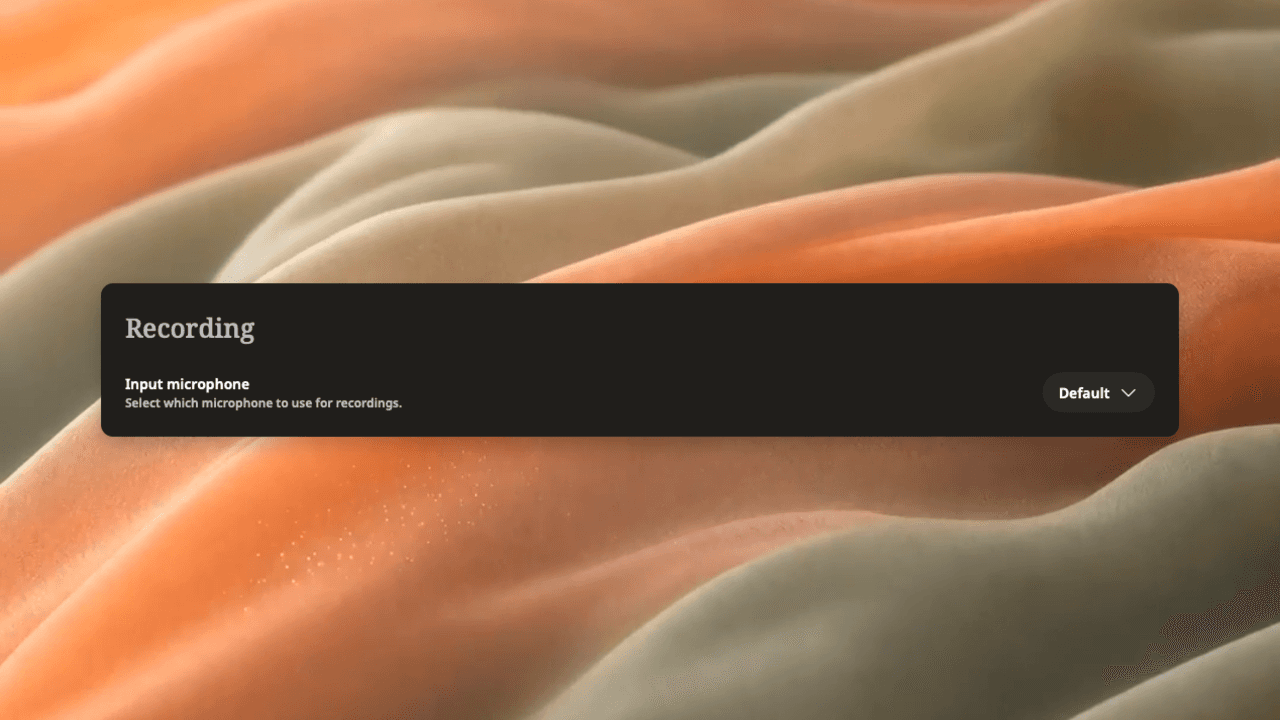
The microphone selector in Weeve. This is a genuine product capture, not the Screenshot or QuickTime settings panel.
Choose the input that matches your setup, then verify the saved audio before relying on a longer recording. If you later use AI to work with the transcript, review its output against the source. Local processing and optional external AI providers have different data boundaries; choose the mode appropriate for the material rather than assuming every AI action stays on the device.
Can you recover sound that was never recorded?
Changing permissions after the event affects future capture; it does not add an audio source to an existing silent file. First establish whether the file contains audio that is failing to play, or whether the intended sound was never captured.
If you have another legitimate source — a separate audio recording, an authorised meeting recording or an original narration track — you may be able to combine it with a copy of the video in an editor. Check synchronisation at the beginning, middle and end. Keep the originals so you can undo an incorrect alignment.
If the missing source was never recorded anywhere, a repair or enhancement tool cannot recover the actual words from absent audio. Re-record the section where possible. Clearly distinguish a new narration from the original event rather than presenting reconstructed speech as a recovered recording.
When to stop troubleshooting and ask for help
Escalate when a controlled test still fails despite a supported recording method, the correct source and the required permissions. Contact the app’s support team or your organisation’s IT team with:
Your macOS version and recording app version.
Which source is missing: microphone, system audio or both.
The selected input and output devices.
Whether another known-good file plays correctly.
The result of the short test and any exact error message.
Use a harmless test file if support needs an example. There is usually no reason to send a private meeting just to demonstrate a missing audio source.
Some applications restrict capture. Apple notes that apps such as Apple TV may not allow their windows to be recorded. If the problem is specific to protected content, follow the source application’s supported options instead of treating it as a reason to bypass those restrictions. Apple’s recording guide describes that limitation.
Your final check is straightforward: save a short recording, reopen it and confirm each required source. Once the picture, your microphone and the intended app sound are present, you have evidence that the setup works for the next recording.

